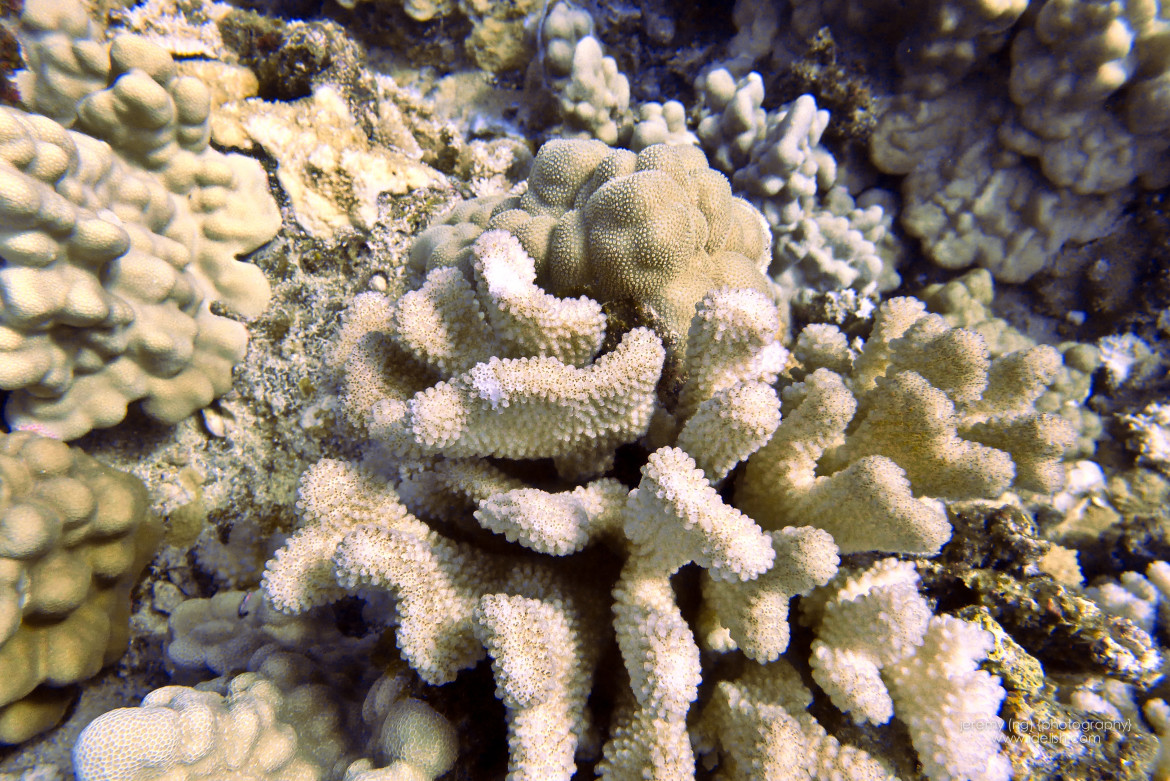
Don’t you just hate it when you take underwater photos and they all have this blue-green color cast?
We’ve had a few asks to share how we color correct our underwater photos. So here it is.
We’re sure there are many ways to achieve this and this is just one way we found to have worked for us (we’re not Photoshop experts, so there may be other ways to do this in Photoshop as well). Feel free to share if you have other ways to color correct underwater photos. We’d love to learn!
Why does this happen?
Well, light is actually made out of a combination of a spectrum of colors. The colors of the rainbow is basically light split out into its respective colors – Red, Orange, Yellow, Green, Blue, Indigo and Violet.
The colors disappear underwater in the same order as they appear in the color spectrum.
Underwater, the longest wavelength is the first to be absorbed – hence red is the first to be absorbed, followed by orange and yellow and so on. That is why, the warmer red, orange and yellows are the first colors to disappear from your photos, leaving the green and blue cast.
How do we color correct our underwater photos?
We use Photoshop’s Channel Mixer feature to restore the color red by “borrowing” from the blue and green pixels.
Here’s a basic rundown of the steps we take:
1 Check the Red, Green and Blue Channels of your image (“Channels” is the tab next to the “Layer” tab on the far right panel). 2 Back on the “Layers” tab, select “Channel Mixer” from the menu.Note: make sure to select “RGB” again from the channel mixer view just now to make sure you’re back to the full RGB view and not the individual red/green/blue channels.
3 “Borrow” from the green and blue channel.
a) Select “Red” from the “Output channel” option
b) Slide the green slider to the right until you see some return of red pixels in your image.
c) Slide the blue slider to the left to balance out the overcompensation of the green turned red pixels
d) You can also play around with the red slider to adjust the luminosity of the few original working red pixels.
Go through each of the channels (Red, green and blue) and adjust the three “triangles” below the histogram.
We usually pull in the dark and light triangles so they touch the edges of the histogram. This works most of the time but always be sure to check the results on your image for the best location of the triangles. For more information on levels, here’s a great article about it.
Once you’ve adjusted all three levels, you should see improvements on both the color and contrast of the image.
6 Once you’ve adjusted your channels and levels, you should already see a considerable improvement in your before and after image.From here, apply other photo adjustments as needed such as hue, saturation, brightness, sharpening, clarity etc.
Final results
We hope this helps you color correct your underwater photos.
Do let us know if you know of other ways that you’d like to share with us and other readers!
16 Comments
-
This photoshop color correction process is really advance that you shared here. awesome and I learned here some uncommon idea. thanks
-
Nice tips and the photo also very nice… Colour correction is the process where every clip is manually tweaked to get a good exposure and balance of light. Each clip is adjusted to match color temperature to a predefined choice for each scene. This tedious and mechanical process is essential and in its own way, an art form.
-
Author
True indeed!
Jeremy & Shirlene recently posted..{USA} The Lowell – Where to Stay when visiting Park City, Utah
-
-
This is really awesome. I definitely have a lot of underwater pics that are just “meh”. Time to bust out some Photoshop skills.
-
Author
Great that we are of help! Hope this helps you bring out the beauty of your underwater pictures!
Jeremy & Shirlene recently posted..{USA} Scuba Diving Molokini and Wailea in Maui
-
-
{Tips} Color Correcting Underwater Photos http://t.co/4rI6eeRBPC via @idelishTravel
-
Wow! That before and after is pretty impressive. I haven’t played around with underwater photography since probably my days at the pool as an 8 year old, but these are good tips to have.
Suzy recently posted..Lincoln Travelogues: Notes on Traveling to the Famous for the Unknown Journey
-
Author
Thanks Suzy! We took so many underwater photos and were sad that they were all blue/green, so we set out to fix the photos because we wanted to showcase how beautiful it really is underwater when you see it with your own eyes.
Jeremy & Shirlene recently posted..{USA} Scuba Diving Molokini and Wailea in Maui
-
-
{Tips} Color Correcting Underwater Photos http://t.co/IEzuNyaRIz via @idelishTravel
-
{Tips} Color Correcting Underwater Photos http://t.co/t4xIhBWnnM via @idelishTravel
-
{Tips} Color Correcting Underwater Photos http://t.co/FxVjmRtEeM via @idelishTravel
-
Maybe Gerard should be leaving this comment, because it’s way too technical for my brain to comprehend.. lol. BUT I LOVE that you can correct under water photos! Our diving photos in Indonesia can be saved! Hehehe
-
Author
Yay! Can’t wait to see your diving photos! Indonesia has always been on our list of places to go dive! Now with a baby in tow, not sure when we’d get to it but it’s definitely on our list!
Jeremy & Shirlene recently posted..{USA} Scuba Diving Molokini and Wailea in Maui
-
-
{Tips} Color Correcting Underwater Photos http://t.co/Sh2TrQnpGf via @idelishTravel
-
{Tips} Color Correcting Underwater Photos http://t.co/df31mhRN55 via @idelishTravel
-
{Tips} Color Correcting Underwater Photos http://t.co/teQ84G0A00 via @idelishTravel


